
So here was my first effort:
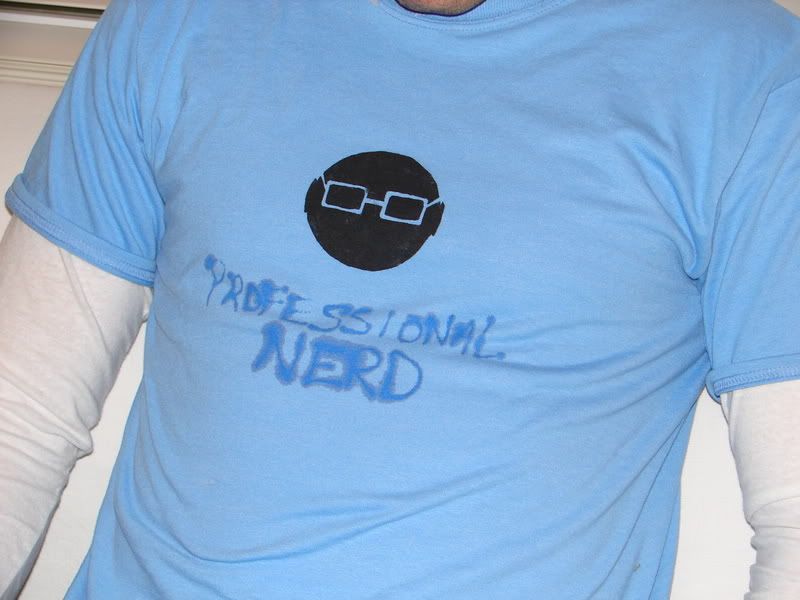 I made these as Xmas prezzies for my bros-in-law and
 my hubby. This is hubby sportin his. I quickly learned (after three botched shirts) that some important things to think about are how thick/runny your ink/paint is (and therefore how much bleedage), and how you can't have any floating areas of white within the black because that piece of the stencil will just fall right out. Also, one major difference between freezer paper stenciling and silk-screening (aside from the evenness of the ink) is the ability to redo an image over and over. Freezer paper is pretty much a one-shot deal. So if you want to make multiple shirts, you have to re-cut the design every time.
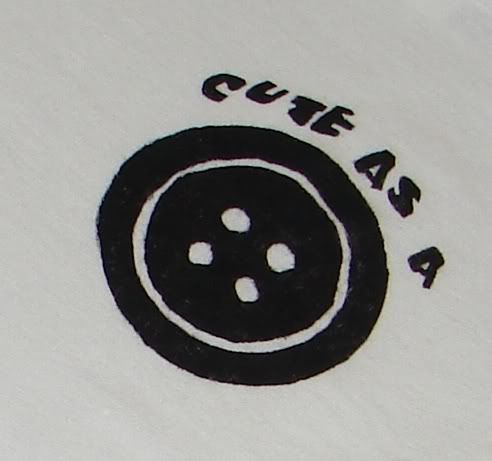
My next project was a tote bag for my niece. It's super-freakin sweet, it's this colorful, stylized, butterfly-covered tote that I put a huge image of her face/name on to personalize. Unfortunately I didn't have a camera handy to get a shot of the bag, but for now, here is the design I placed on top of the tote's existing pattern:
 Again, there were little bits of floating white everywhere, so I ended up changing some elements quite a bit when I actually cut the stencil.
Then came this little project:

 A baby-shower gift for some friends. I wanted to personalize it further with the baby's name or something but, even though they've already picked out the name, the baby still hasn't been born yet, and you never know, so I kept it generic. Still having trouble with those round edges, and getting clean lines with my xacto.
Now my pride and joy:
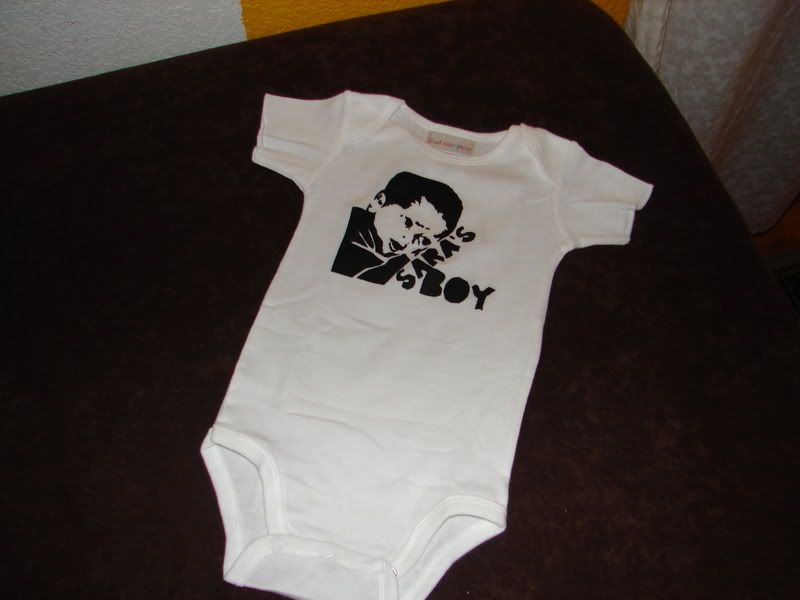
 A friend of mine just gave birth to this cutie pie and I wanted to send them something special to celebrate. This is from a photo of the little munchkin when he was still at the hospital. As you can see, I am really starting to figure stuff out. My biggest revelation: freezer paper (with enough coaxing) can go through my printer, so I can print my design and cut through only the freezer paper. I had previously been doing freezer paper plus design sheet laid on top. This makes cutting that much easier and therefore more accurate. I am sooooooo proud of this one, I can't wait to think up another design to try out. Hubby thinks I should offer custom designs for people if they send me their photos. Maybe I will!
Let me know what you think!
Back to the full blog...


2 comments:
These are really cool!
They turned our great. Very creative too. Can't wait to see your next projects!
John R.
Post a Comment